

|
|
|
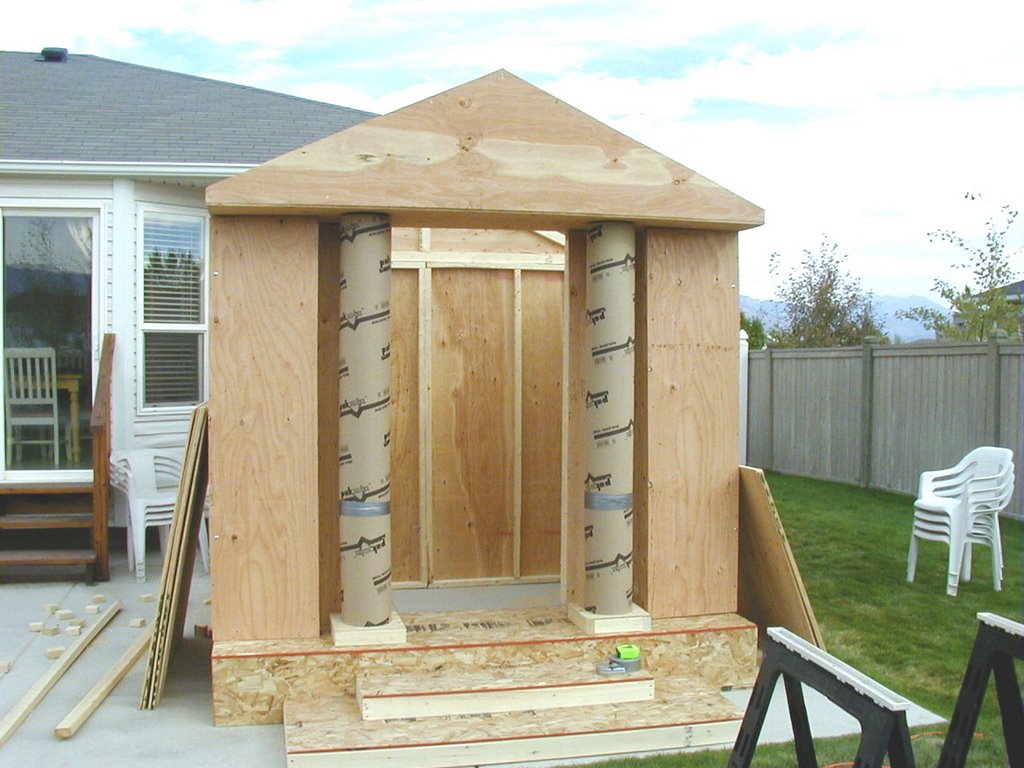
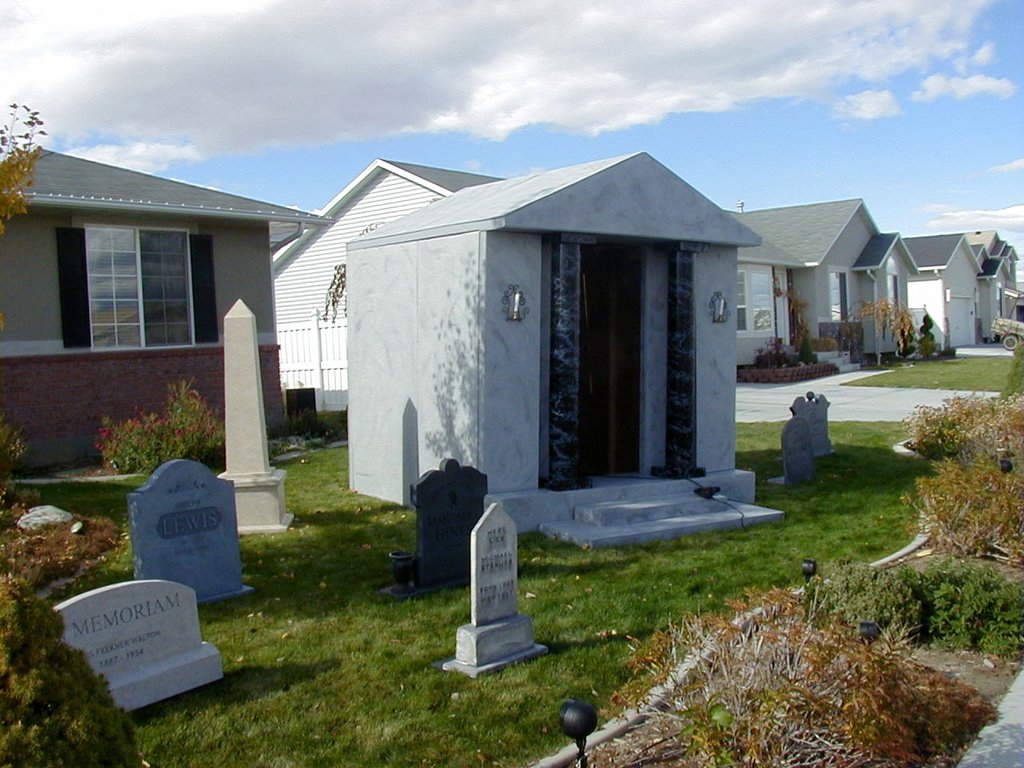
The main reason the mausoleum was built was to give our Flying Crank Ghost, Eleanor a home. Since the ghost
is about 5 1/2 fee tall (6 - 6 1/2 feet when hovering) we needed a life size mausoleum for her. I also needed extra ceiling clearance above for the
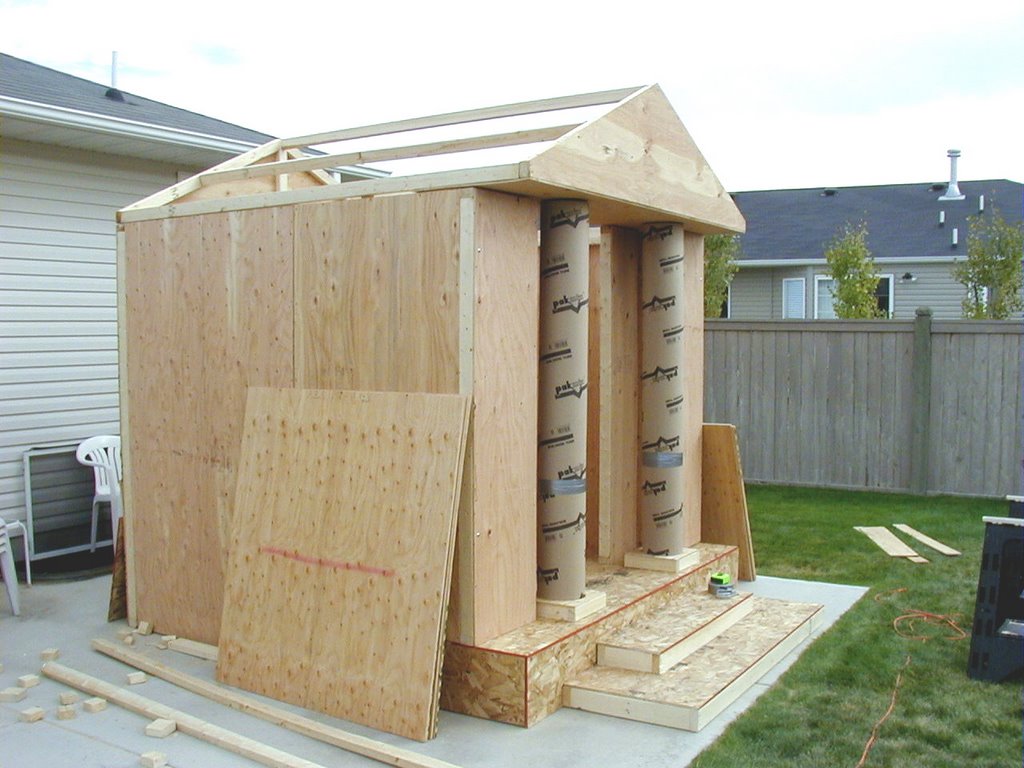
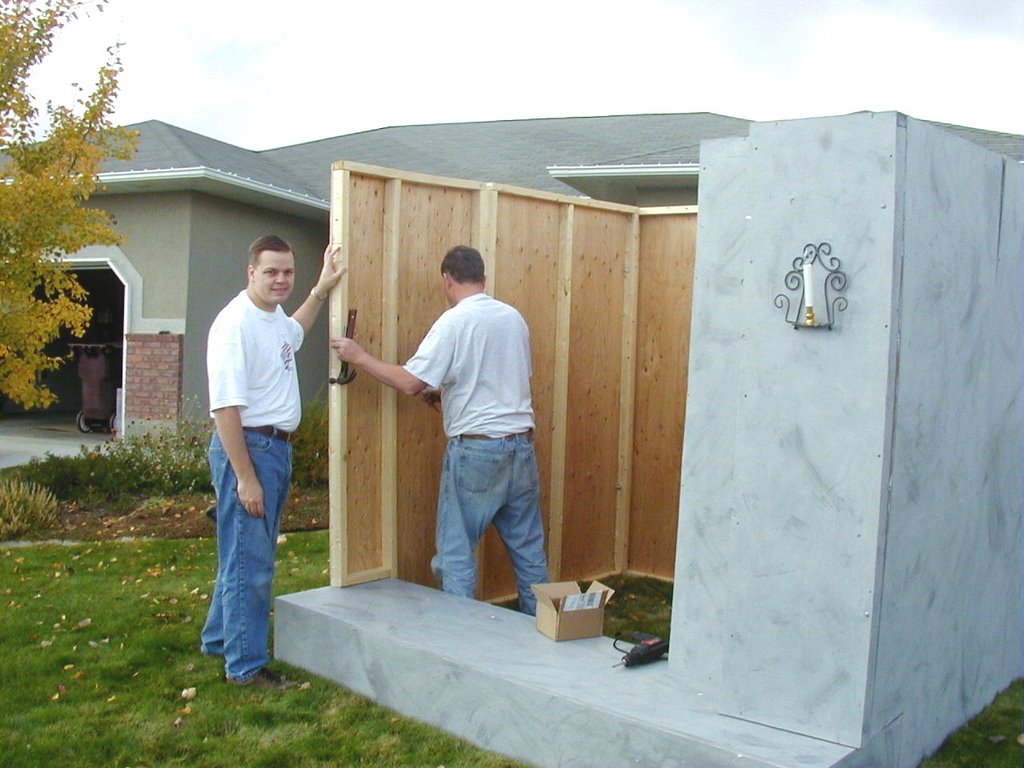
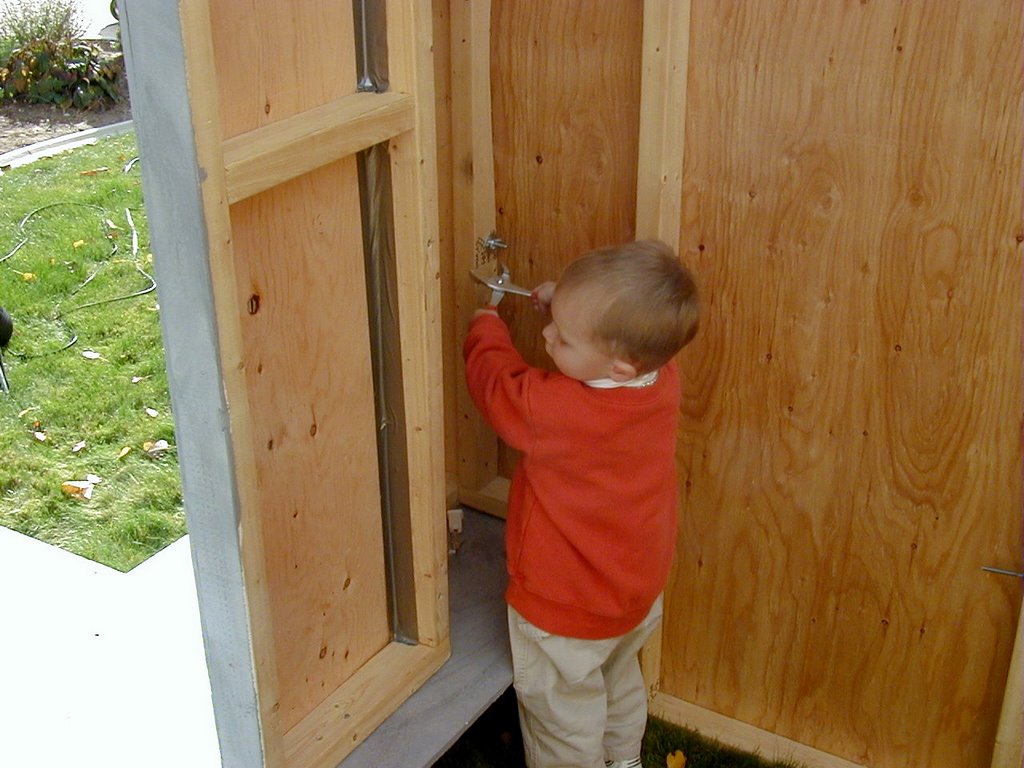
drive mechanism. The pitched roof accomodated for this as well as kept with the look I wanted. The design was inspired by actual crypts/mausoleums in a local cemetery. I took a trip down one afternoon and took a bunch of photos. I think some people wondered what I was doing. Then I looked at each of them and combined the elements I wanted. I think what made it look good is the false raised front with the steps. I didn't want to extend a false floor through the whole piece, plus this gives our ghost extra floor room to move. The overall dimensions with the roof and front steps are 10' deep by 8' wide, and just under 9' from the top of the roof. The walls are 7' to the base of the roof. It was framed out of 2' x 3' lumber and covered in 1/4" plywood sheets, except for the front step block which I covered in 3/8" CDX. The piece was designed to be framed in sections so it could be disassembled. I store mine in the unfinished basement. Each wall is essentially made up of two peices no larger than 4' by 7'. They are assembled together with carriage bolts. The roof supports are screwed to each of the front and back triangle pieces when used and the plywood is then attached to the top. The whole thing goes together pretty easily with the exception of the roof.
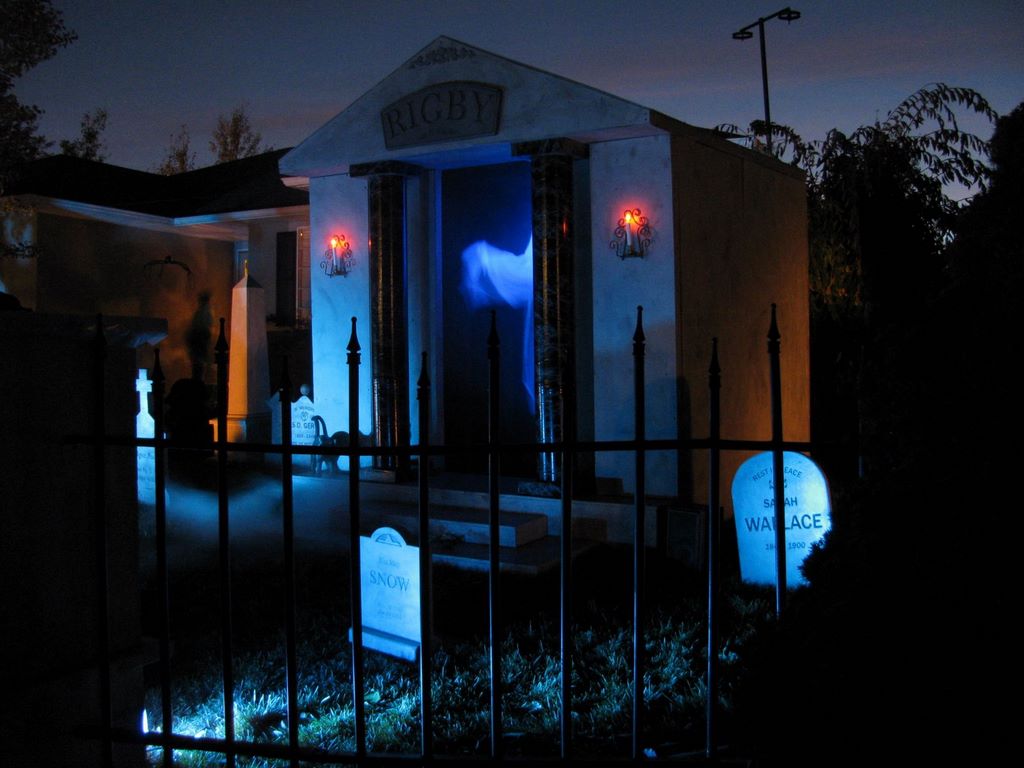
Below are links to GIF images of the plans for the framing: Left & Right Sides Back Front Top Roof & Front Step Block Here are some photos of our mausoleum...
|