I actually started thinking about this project the previous year and searched for examples of other peoples work. Bob Andrews had about the closest thing to what I was
looking for at the time. This year when I started thinking seriously about this project I had found that John Nelson had completed a fantastic piece of work using
foam sides to mimic worn stucco with the underlying brick revealed. It was the perfect classic look I wanted.
My plan is to make the gate columns from wood only instead of foam as they need to support the gates across my cement driveway. This means no sinking of gate
posts in the ground. I did try to use John's overall look on both the columns and the gates. To look at his finished project go to his
project page.
The first thing I did was create some drawings to get things started. The main gate and its supporting columns will be more decorative, and the rest of the
fence will be the standard PVC type. Here are GIF files of my original drawings, but note that there were a few changes in the finished product.
 |
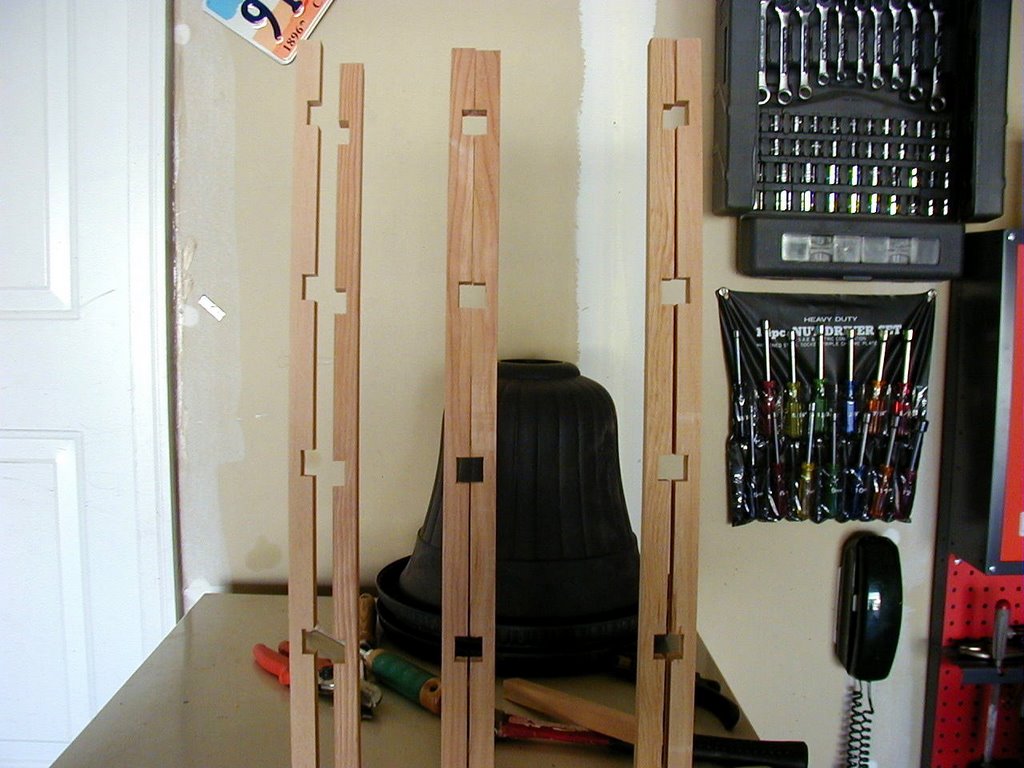
Here is an early shot of one of the gates. The bottom horizontal bar has just been glued to sandwhich the vertical pieces. The
whole gate is made of 3/4" by 3/4" strips of wood cut from douglas fir 1" by 6" by 6 foot stock. |
 |
This image shows the dado cut horizontal pieces before they are glued. These are the same 3/4" by 3/4" cut strips as the vertical bars. The dado cuts are 3/8" deep in the horizontal pieces, so that together they sandwich the 3/4" vertical pieces. |
 |
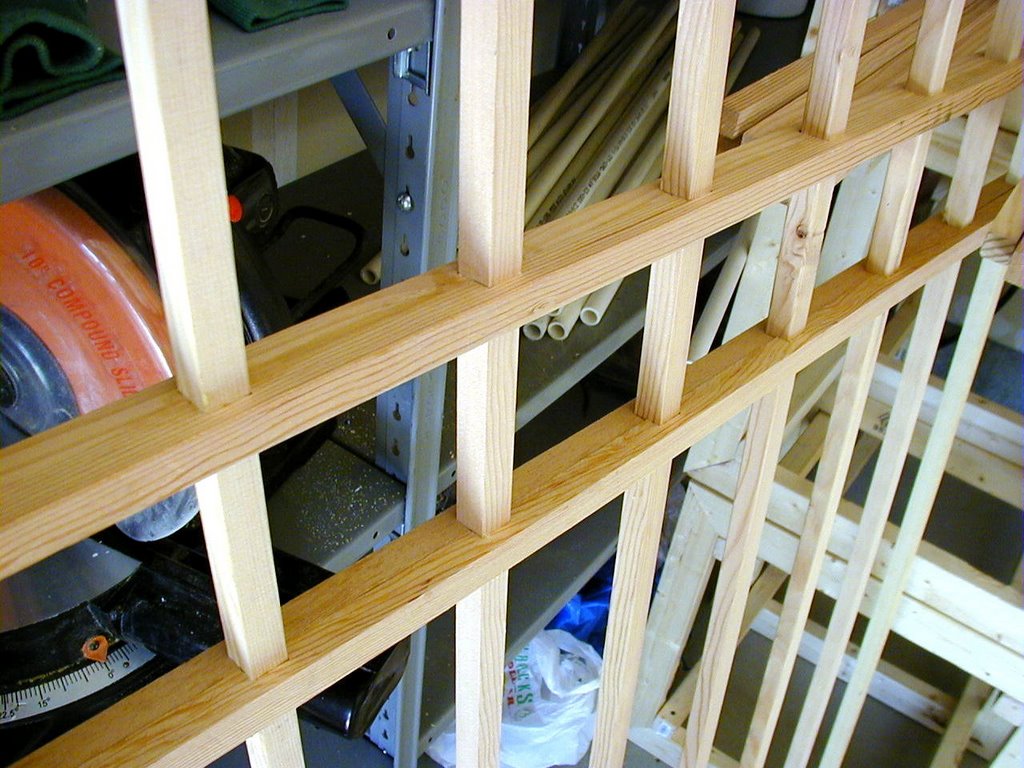
Here is a photo of one of the gates nearly complete. |
 |
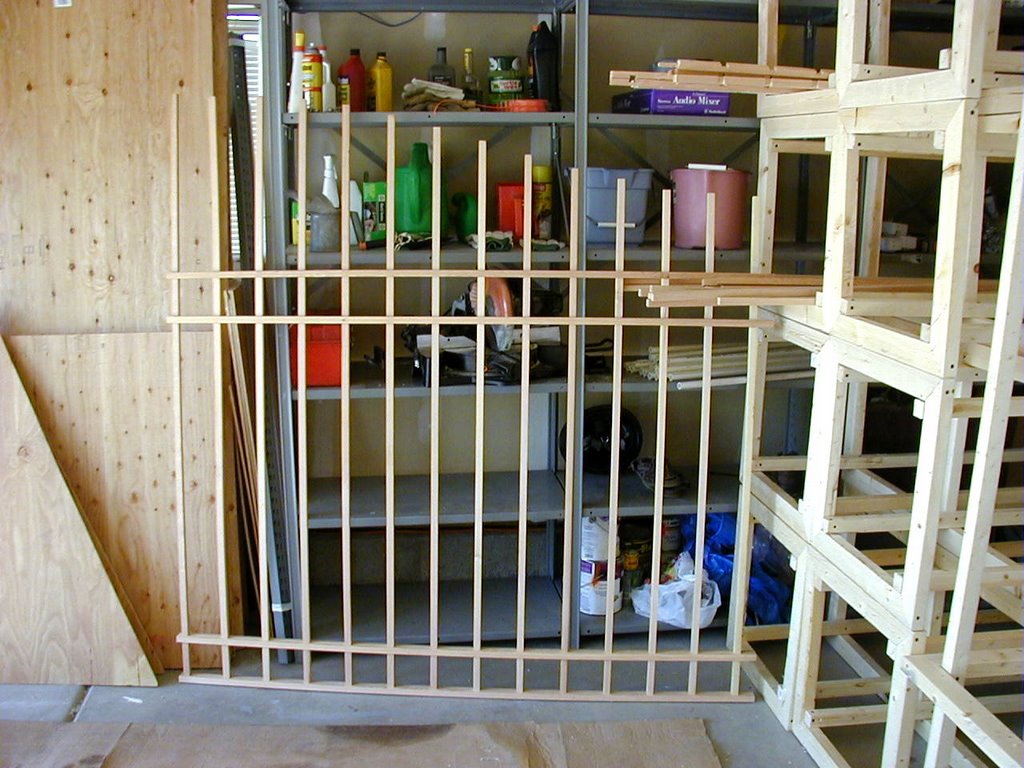
A closeup of the gate. Can you tell there are two pieces of wood around the vertical bars? Hopefully not! At least I am sure you won't on Halloween night after it is painted and finished. |
 |
Another shot of the gate. |
 |
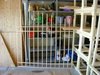
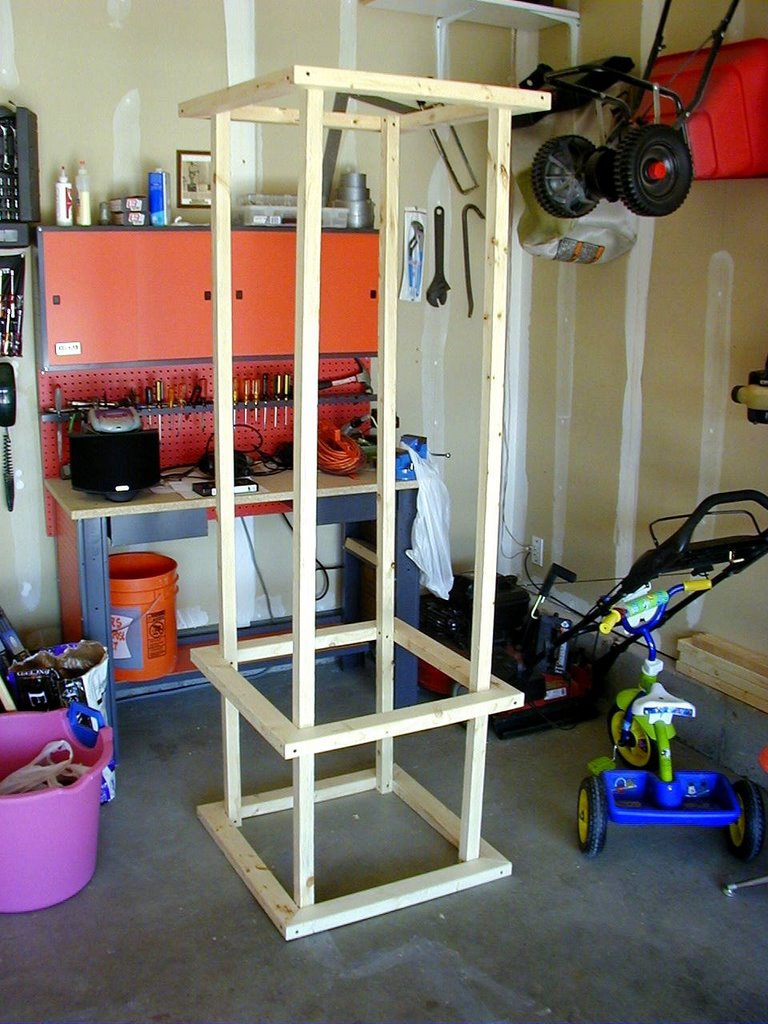
This is the framework of one of the columns the gates will attach to. It is made from 2x3's mitered to make the bottom, mid, and
top sections. The vertical pieces are 2x2's. It will be covered with 3/8" plywood and then given some moulding detail. |
 |
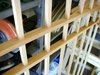
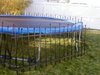
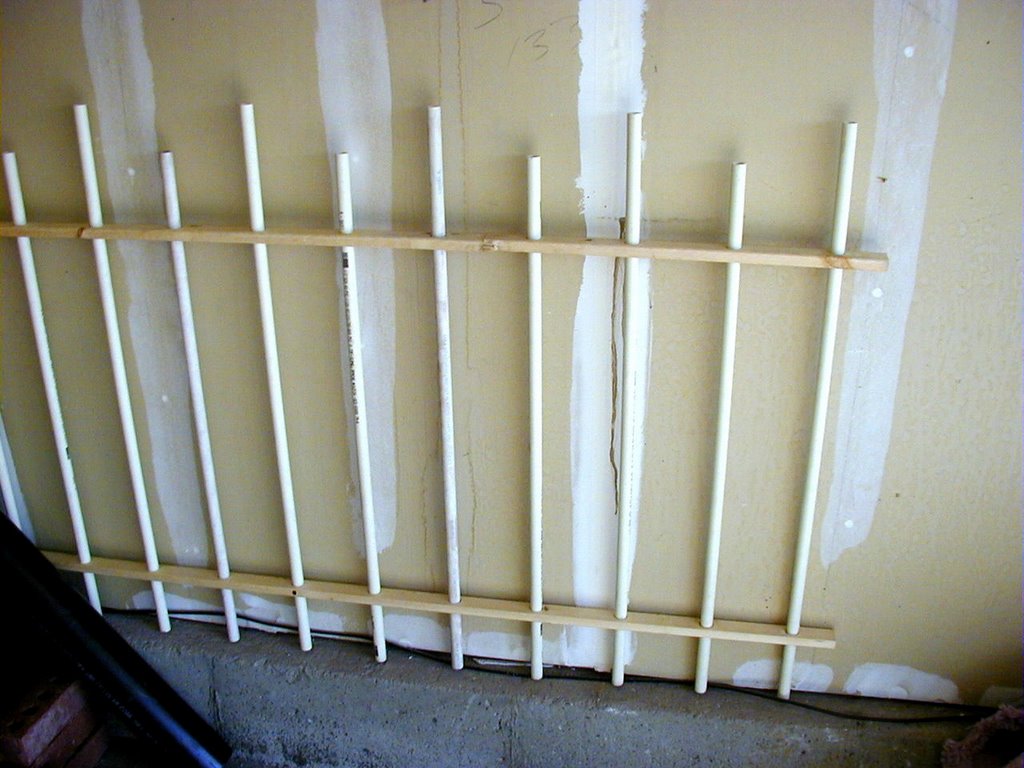
This is one of the many fence sections I am building to go around the front yard. They follow the standard type of PVC fencing
that is common among Halloween yard haunts. It is basically a bunch of holes drilled in some 1X2's with bars cut from 1/2" PVC sprinkler pipe. I had to build
quite a few of these! |
 |
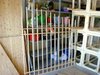
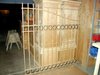
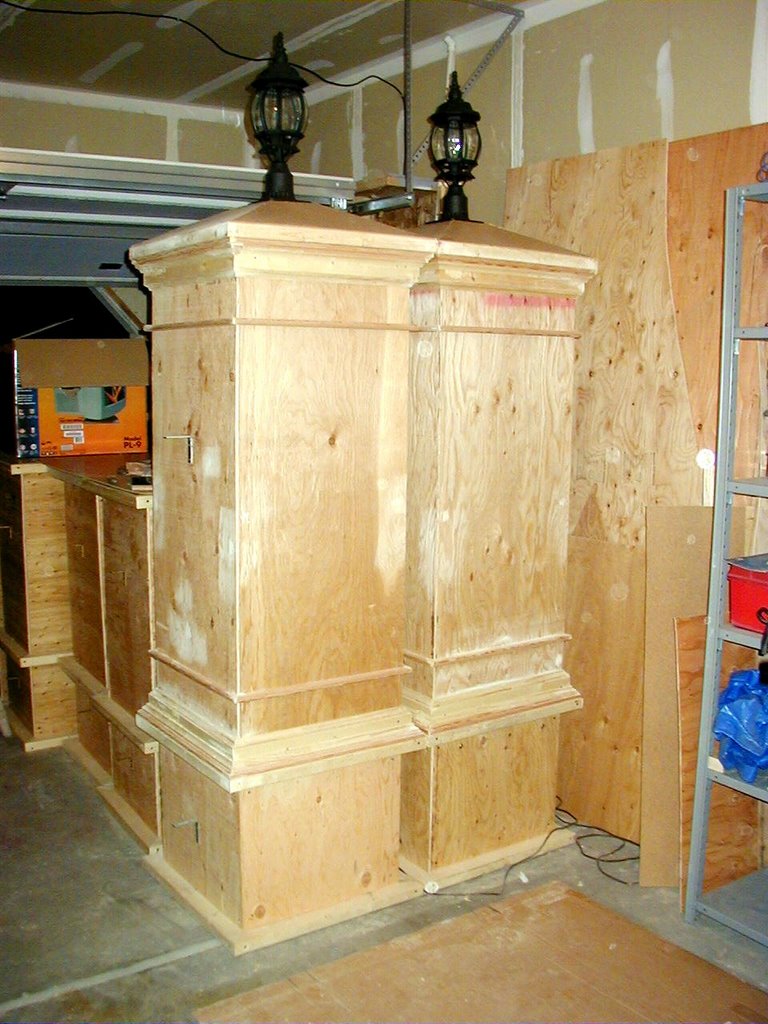
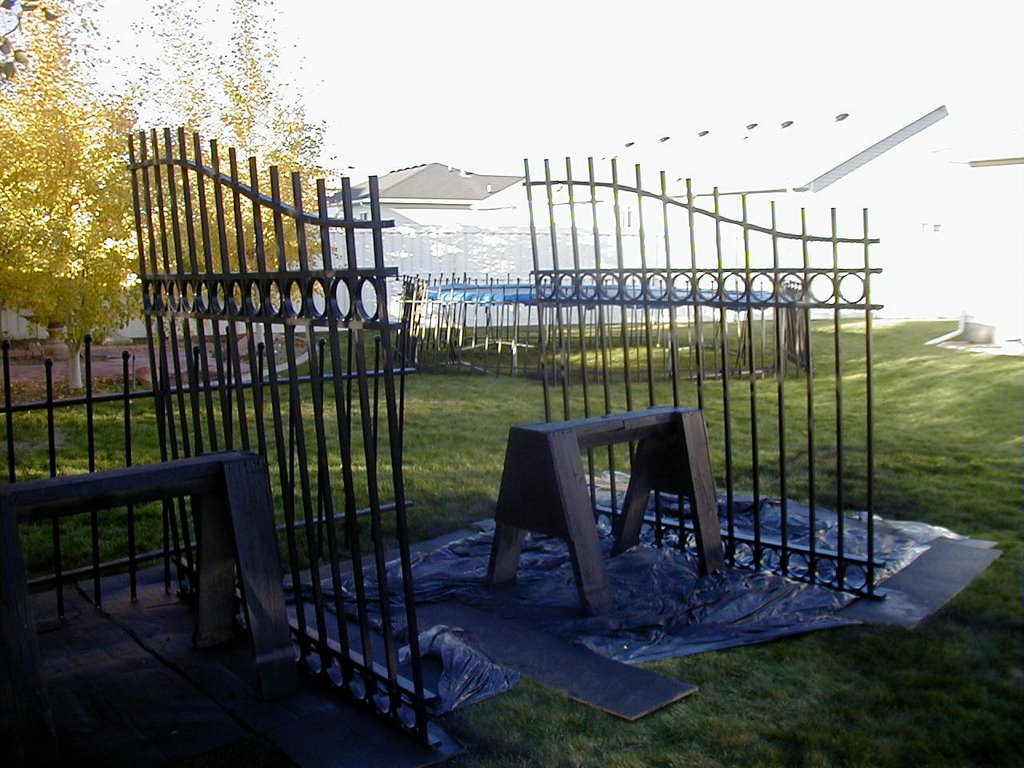
Here are the two main gate columns. They have been decorated, adorned with lights, filled with wood putty where needed
and sanded. I have also attached the corner brackets to the columns and gates that will be used to hange the gates from. They are now ready for painting.
|
 |
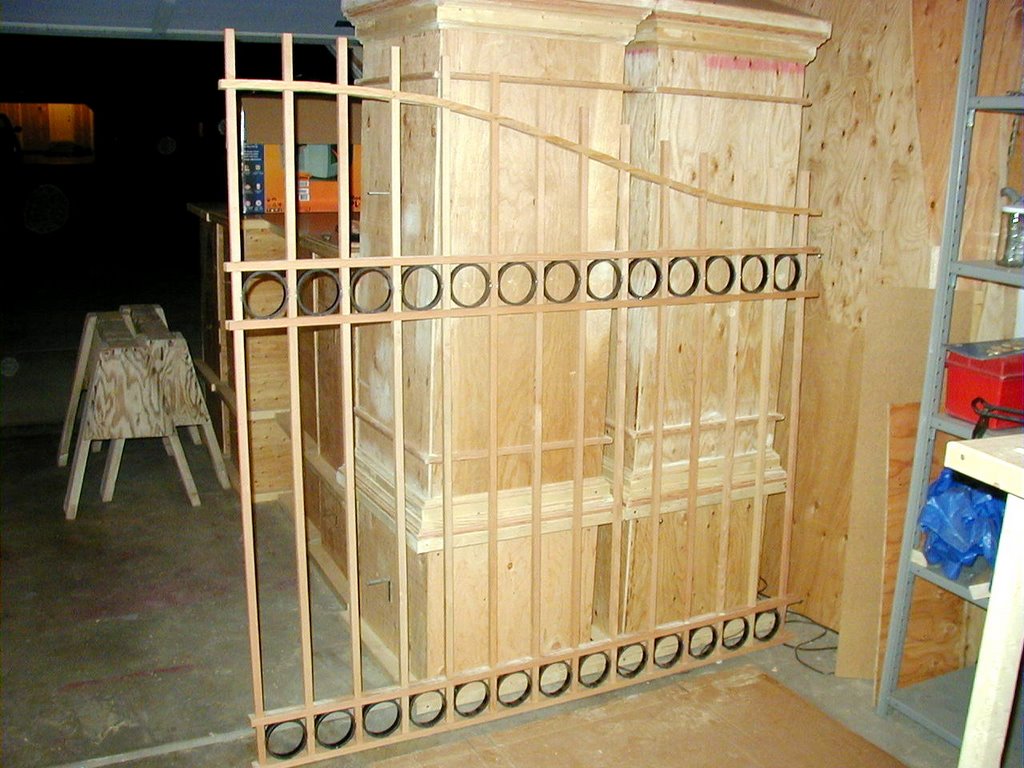
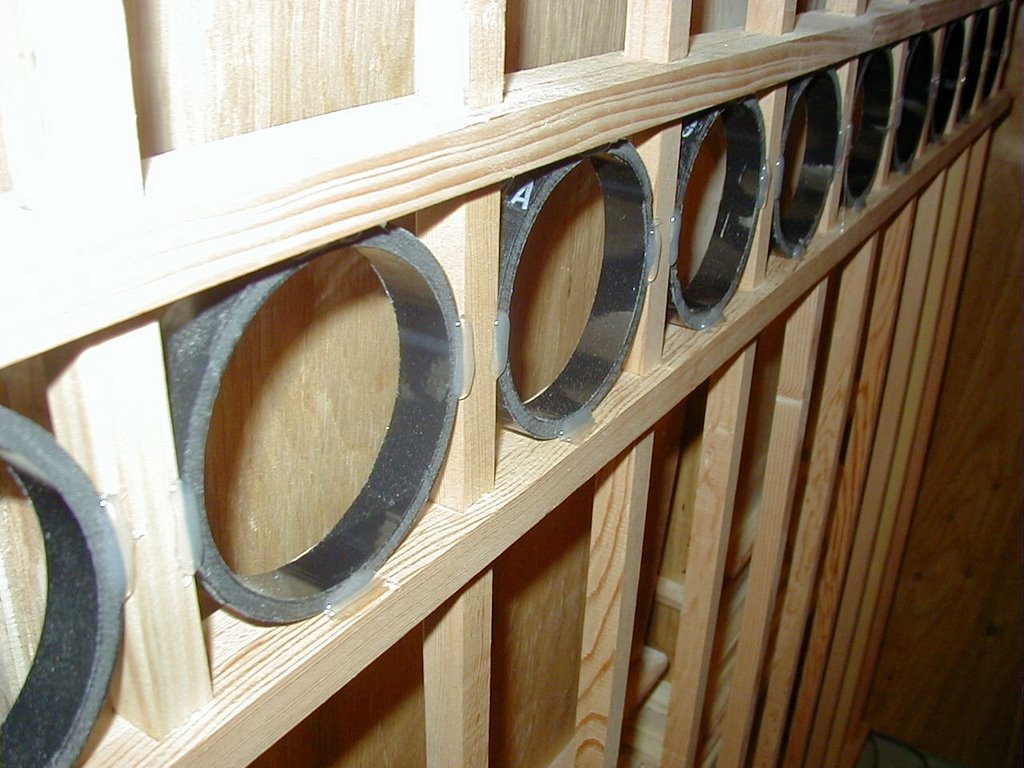
Here is one of the two gates. Since the last update the plastic rings have been added which are just 3/4" slices of a 4"
PVC black pipe. I hot glued them in from one side and when painted, this will look just like the welds on an iron gate! The top "S" curve was also added.
This was two 3/8" strips of plywoold cut out in the curve shape. They sandwich the verticle bars and some small 3/4" pieces to run between the verticles.
|
 |
A closeup of the gate. You can see the hot glue holding the rings in if you look closely. |
 |
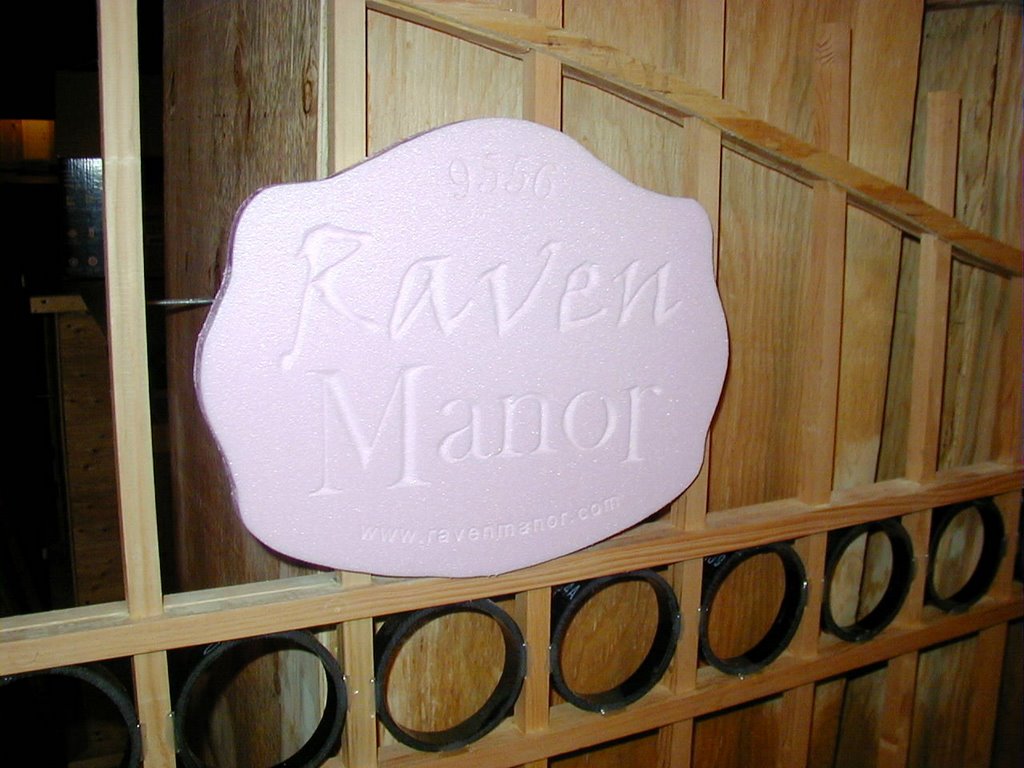
Here is one of two signs I am making. They are carved from the same extruded foam board used for my tombstones.
One will go on each of the two main gate columns. It can be a little hard to read since they are not painted yet. I am also making a sign to go above my
mausoleum door this year too. |
 |
The painting has begun! The gates finally look like real gates with a coat of semi-gloss lamp black on them. |
 |
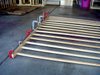
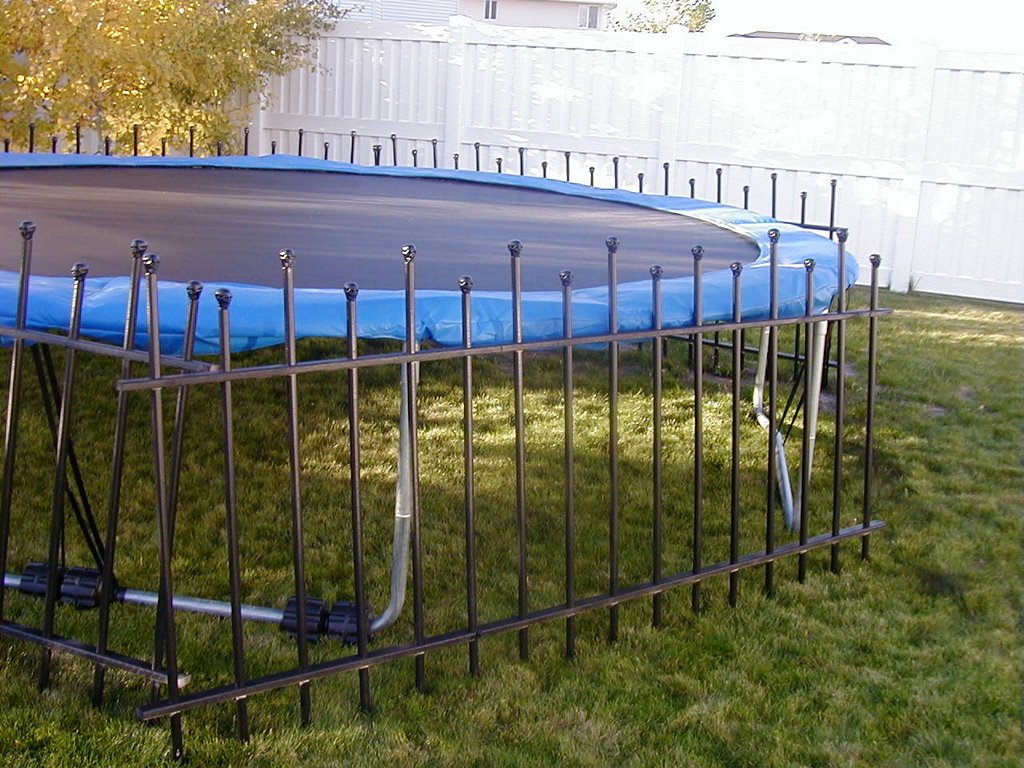
The near finished PVC fence sections getting some drying time by the trampoline. |
 |
A closeup of one of the fence finials. They were originaly toy party whistles that were hot glued into the tops of the PVC pipe. I got the whistles from ebay, but no longer use them as they have been replaced with new finials ordered from decorativeiron.com, item 16.2028. Here is a picture showing the new finials. The new finials are just a bit too small to go over the 1/2" PVC pipe, but this turned out to be a good thing. I used a heat gun to just soften the top of the PVC pipe and then could easily twist the new finial on. Once it cools it bonds and holds them on nice and solid. No glue required and it is super easy. Just takes about 5-7 seconds of heat and your done. |
 |
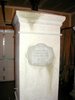
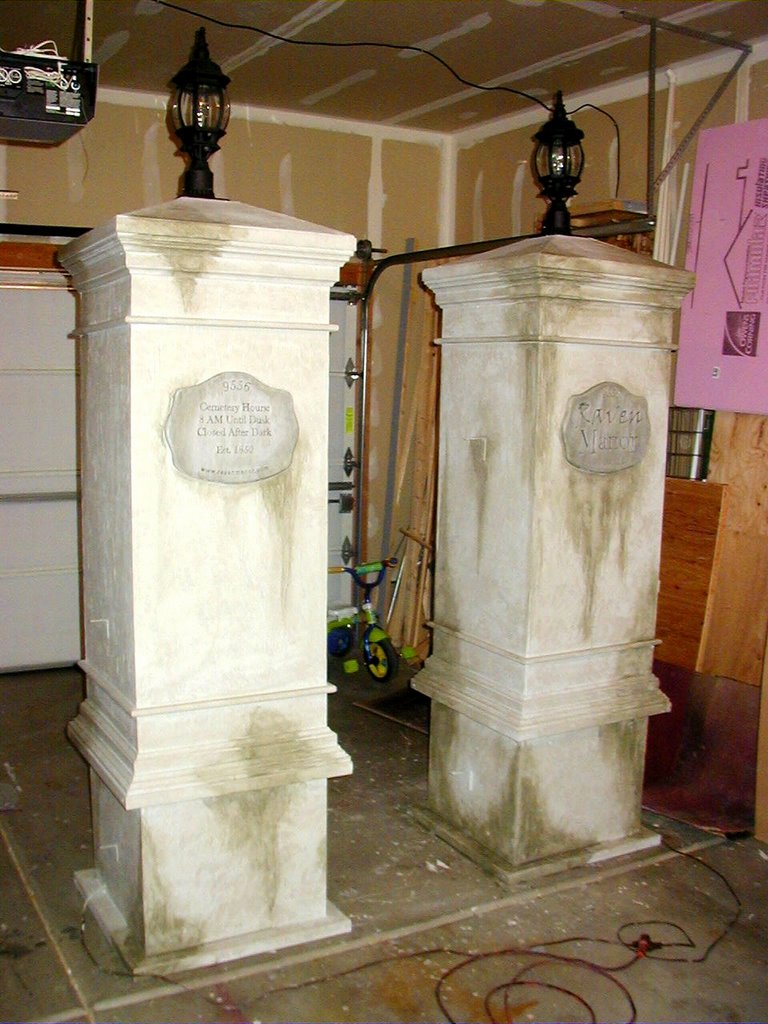
The painted gate columns finally take their finished look. They are base painted with a light grey, and then given a random
dose of water stains with a watered down mixture of black and green. |
 |
A closeup of each of the columns and the sign on each. The sign is made from 3/4" extruded foam board. |
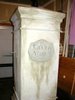 |
A closeup of each of the columns and the sign on each. The sign is made from 3/4" extruded foam board. |
 |
A finished picture from our setup on Halloween 2002. There are more pictures in the Photos area. |
 |
An updated photo from 2006. There are more pictures in the Photos area. |


