
|
|
|
The addition for 2003 was my version of Scott Axworthy's effect, the "Axworthy Ghost". I decided I wanted to make it a double-axworthy, having one motor that drives two independent lines each with a ghost or two. I used ideas from the various other Axworthy project pages on the Internet, including the "Triple Axworthy" by Tom Bardash. See Mark Butler's Monster Page of Halloween Project Links for similar projects.
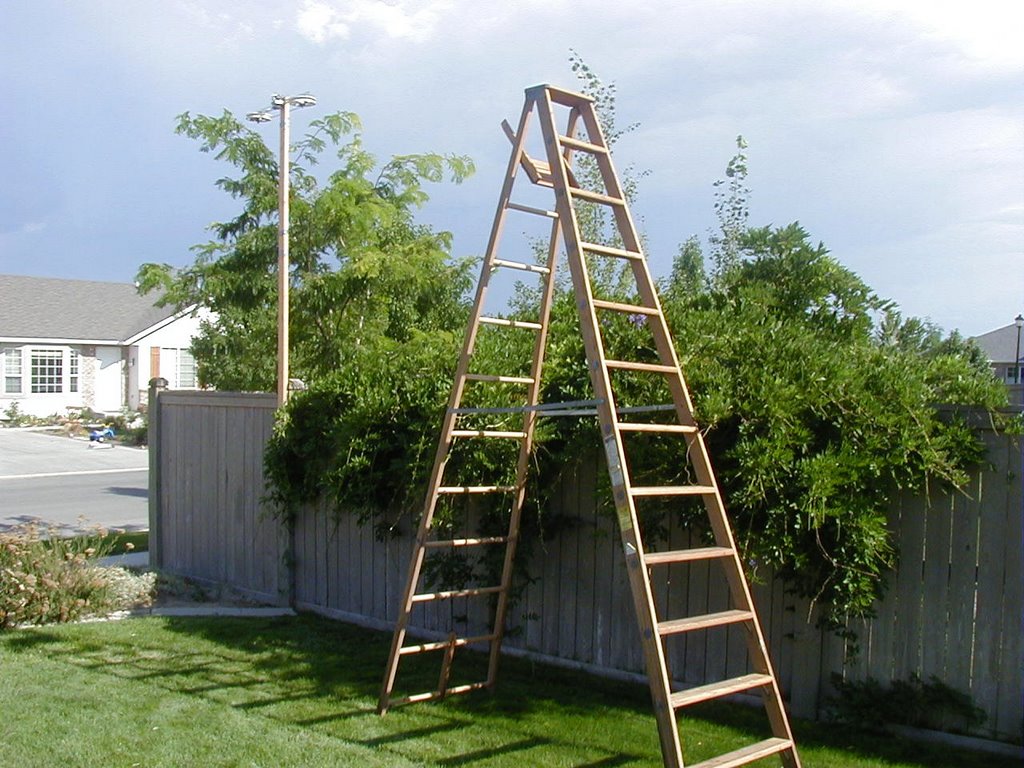
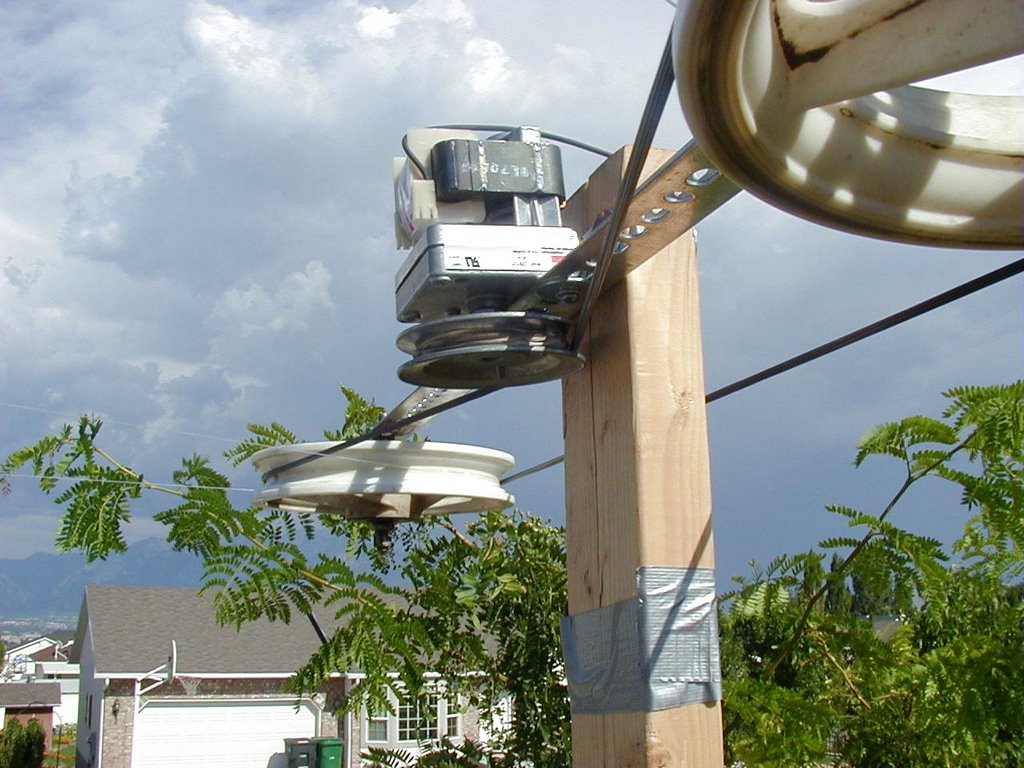
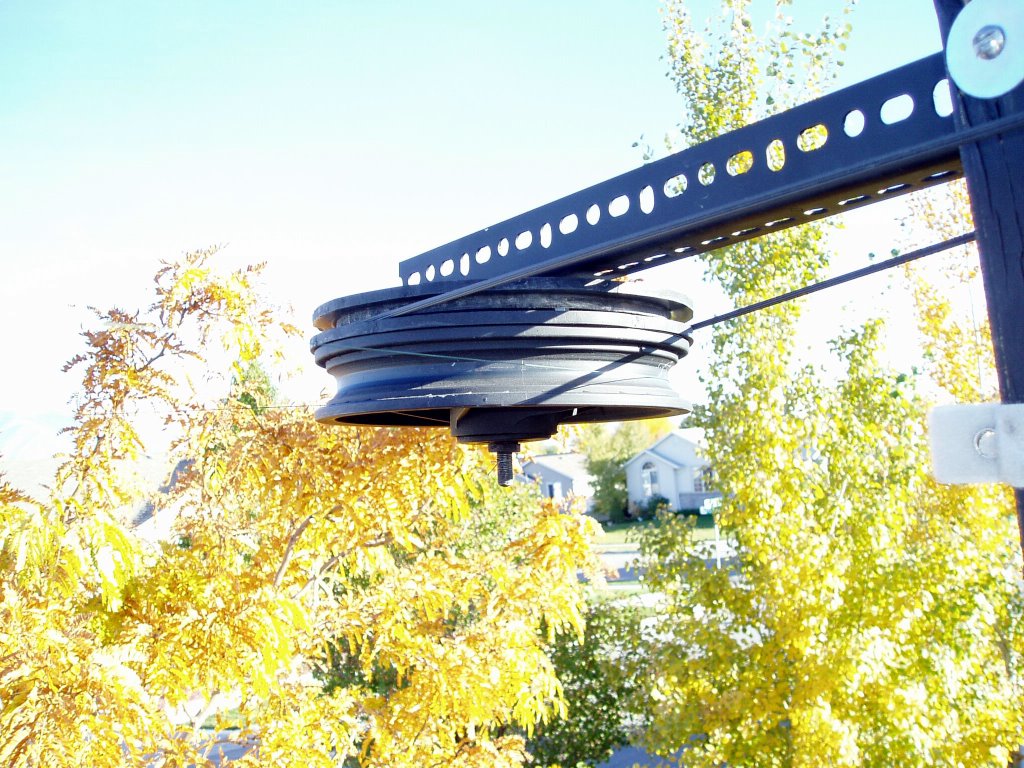
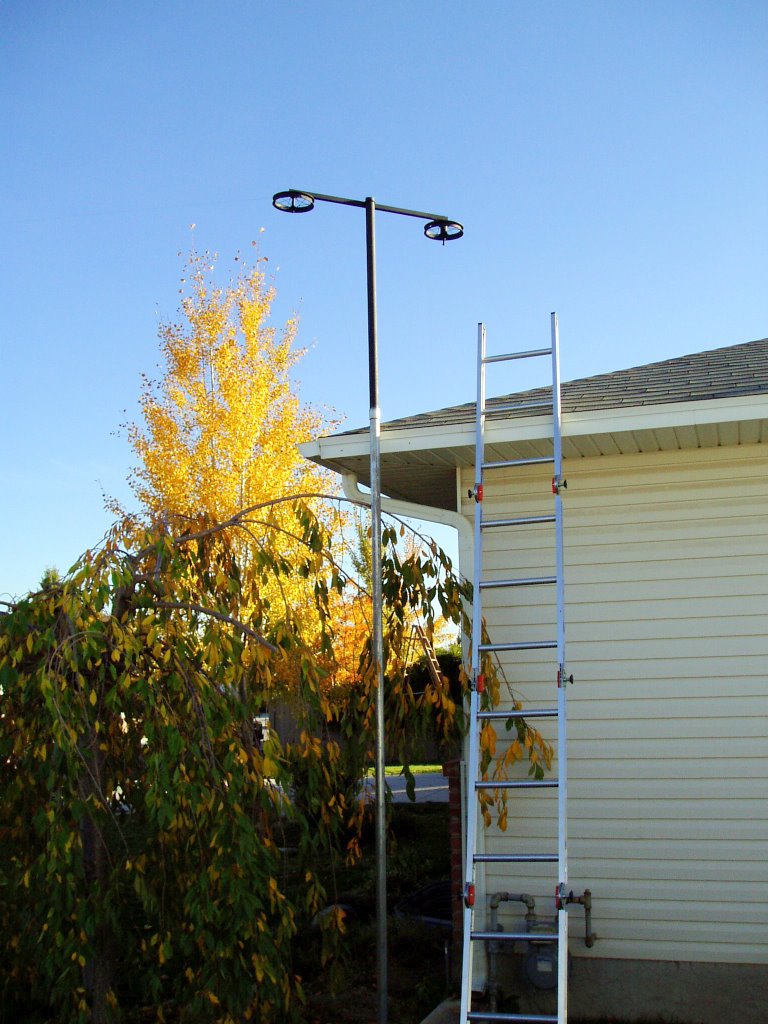
The basic idea is to make a suspended pulley track above the yard that you can fly ghosts, bats, or any other lightweight objects of your choice. The principle components are a motor to drive the unit, bicycle wheels for the track points, and a bunch of trial and error to get it all to work right. I tested this in August of 2003 to verify that I could get it to work reliably for the week of Halloween. I tried monofilament for the ghost line but found it stretched way too much. Since 2003 I have been consitently using a 50 lb. test braided fishing line that claims to have near zero stretch. It's called SpiderWire Stealth, and my tests have shown their claims to be true. It is very strong and the moss green color makes it hard to see day or night. Since the line is Teflon coated, you need a knot that won't slip. I am using a square knot to join the line with fishing swivels. In 2005, I removed the wooden supports I originally used on the house, and replaced them with conduit poles in the ground like the one used at the front of the yard. I cemented a 28" piece into the ground with the threaded end sticking out. In the off season they are capped, but for Halloween I can attach the 14 foot above ground pieces to it. Instead of using 1" Rigid Metal Conduit (RMC) like the front pole, I am using 1-1/2" Intermediate Metal Conduit (IMC). The IMC was cheaper and lighter than the equivalent RMC. It's lighter because of the thinner wall thickness. Many people I asked seemed to think it wasn't as strong or rigid because of this, but the manufacturer claims that it is as strong or stronger based on the materials. I found the newer poles worked very well. There still is some flexing but not enough to be a problem for my light and simple ghosts, and the flex gives a built in tensioning system. In 2011 I replaced the 2x4 that the motor/drive system was attached to with another IMC conduit pole. So now all points are freestanding poles that are removed after the show. In 2021 I made a major change in that I switched the motor and drive-wheels out for direct drive wheels powered each by a wiper motor. This has been much more reliable by eliminating the need for a motor drive-line and I would recommend it if you can. The drive-line was a major problem area. You can purchase the Axworthy kit for these wheels and motor at FrightProps.com. They even use the Spiderwire fishing line in their Axworthy kit. I suspect they got that idea from Raven Manor). I have gotten more questions about this project than any other. Many of them asking what motor and drive pulley I use (see the captions for the 3rd and 4th photos below for the answers). I also get asked how fast my ghosts travel, and how to calculate the speed for a given motor and pulley size. Another point of confusion is how to connect the ghost line to itself, and to the ghosts with the fishing swivels. I have created the following two diagrams to help provide the details. I hope you will find them useful. Click the thumnails for the full size images. You may then have to click them in your browser to show the full size image.
The Axworthy project takes a lot of time and patience. Each person's design is different, and requires much testing and trial and error to get it running well. Give yourself plenty of time to attempt it, and allow for improvements each year. Hopefully the information, photos, and video here will help you in your implementation.
Daytime Axworthy Video (2023 update)
Nightime Axworthy Video (2011)
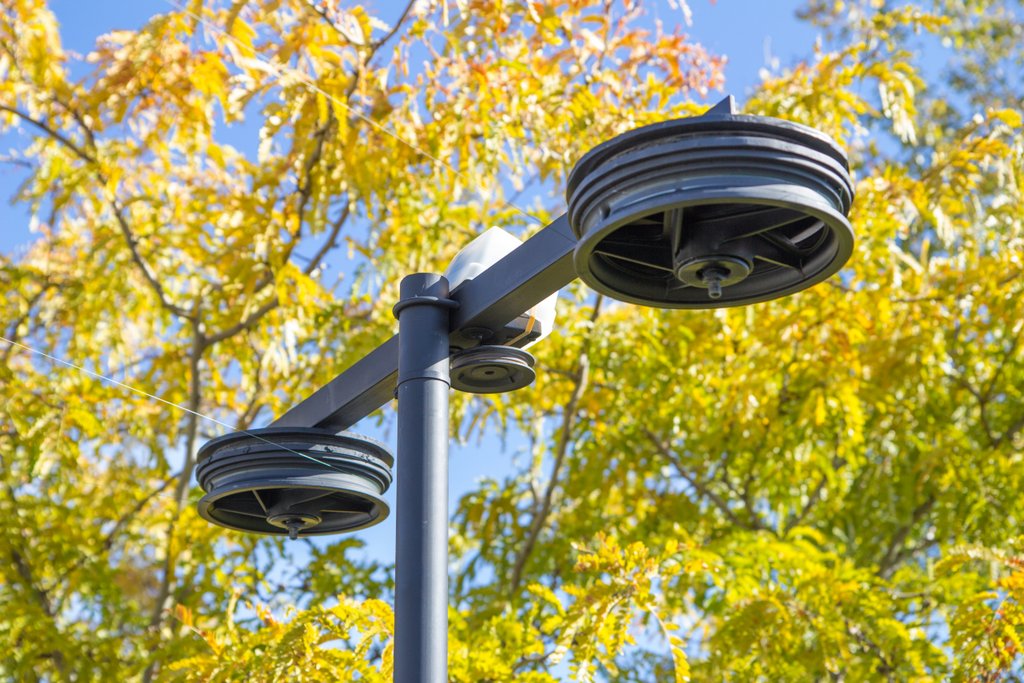
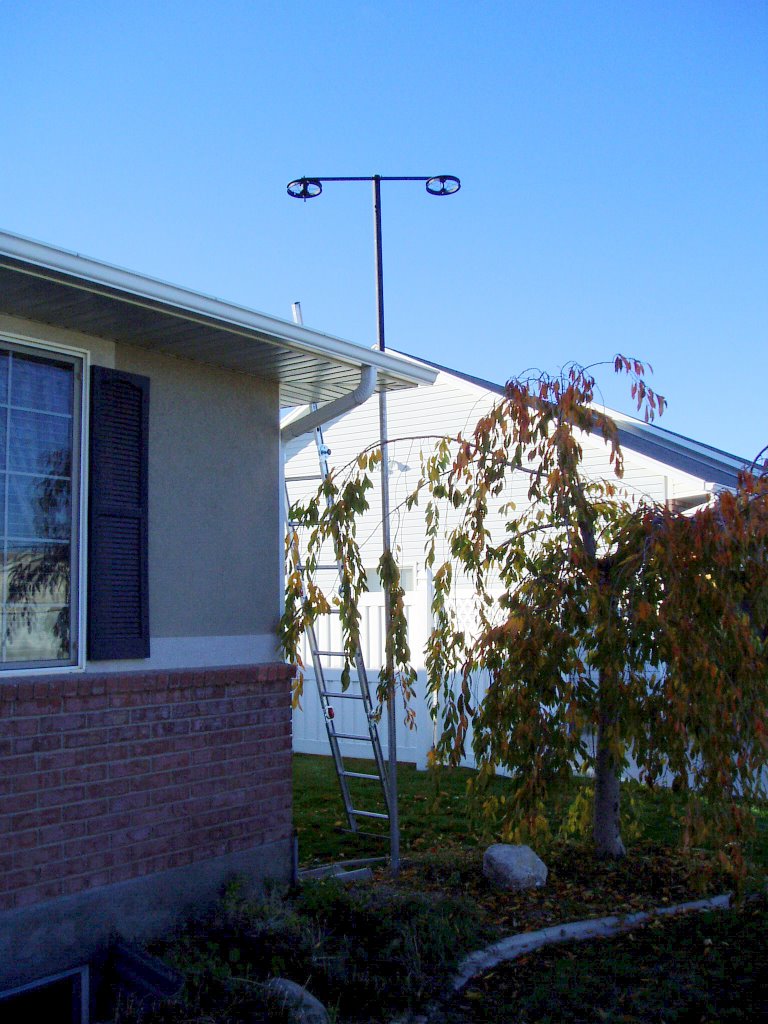
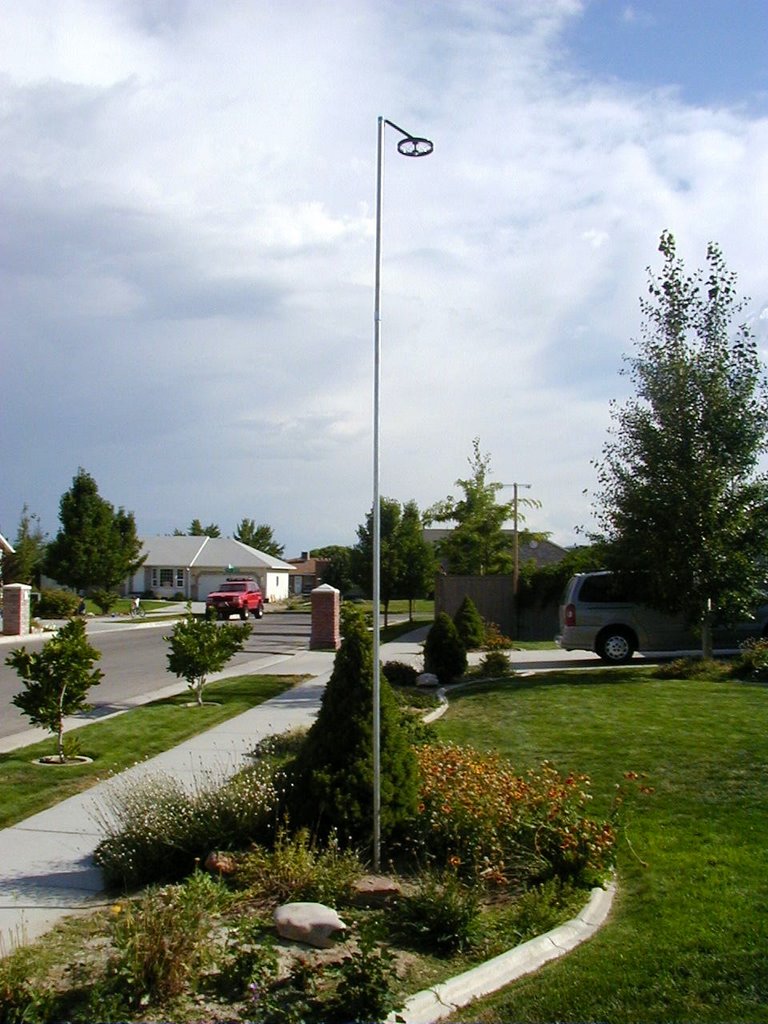
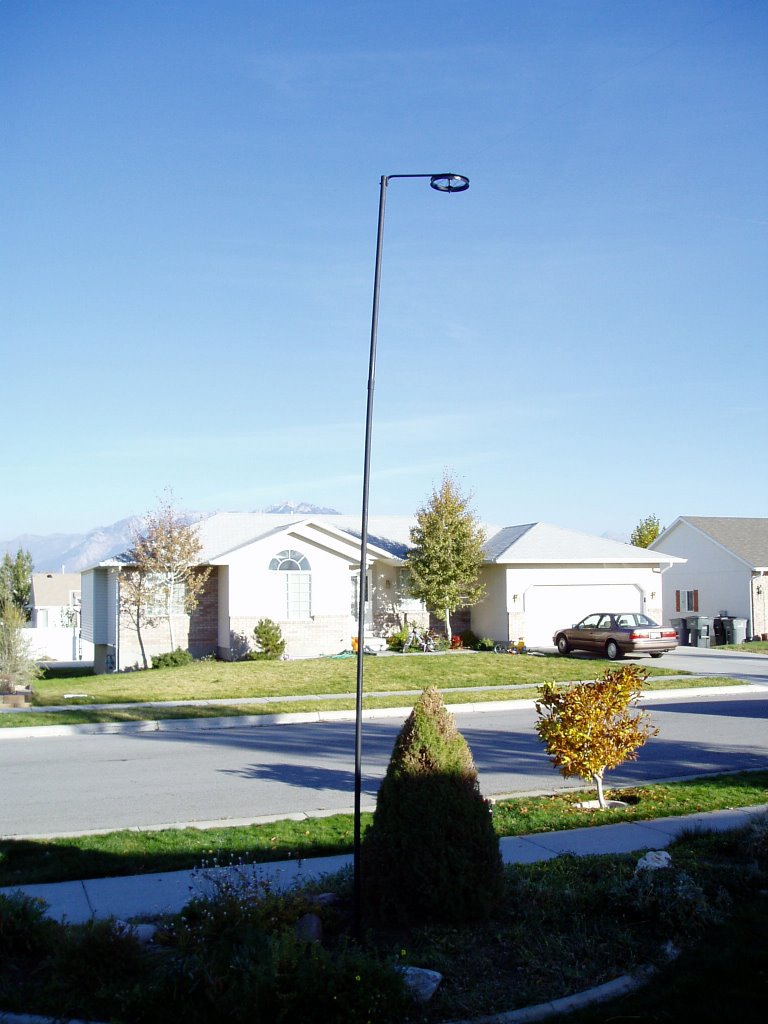
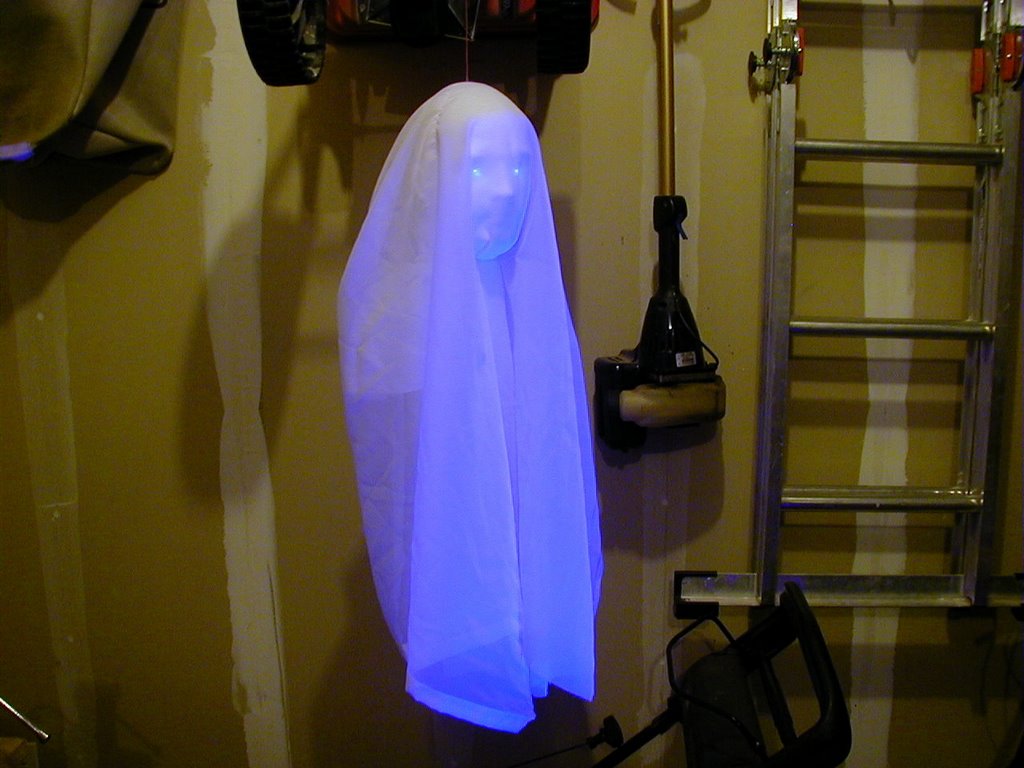
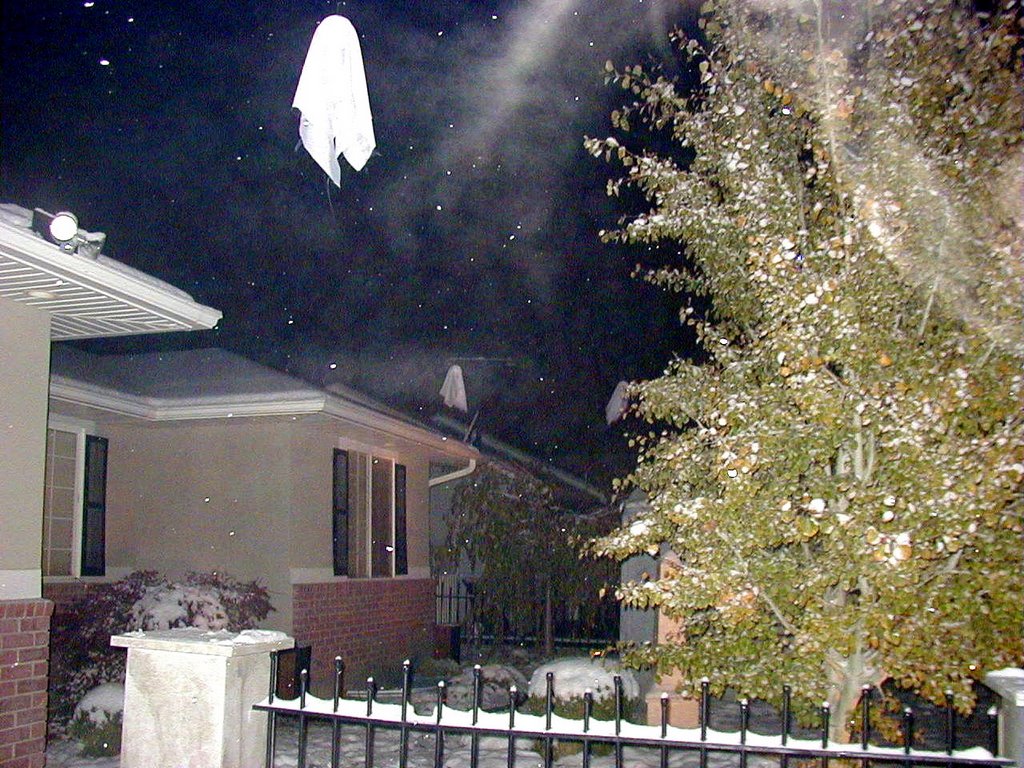
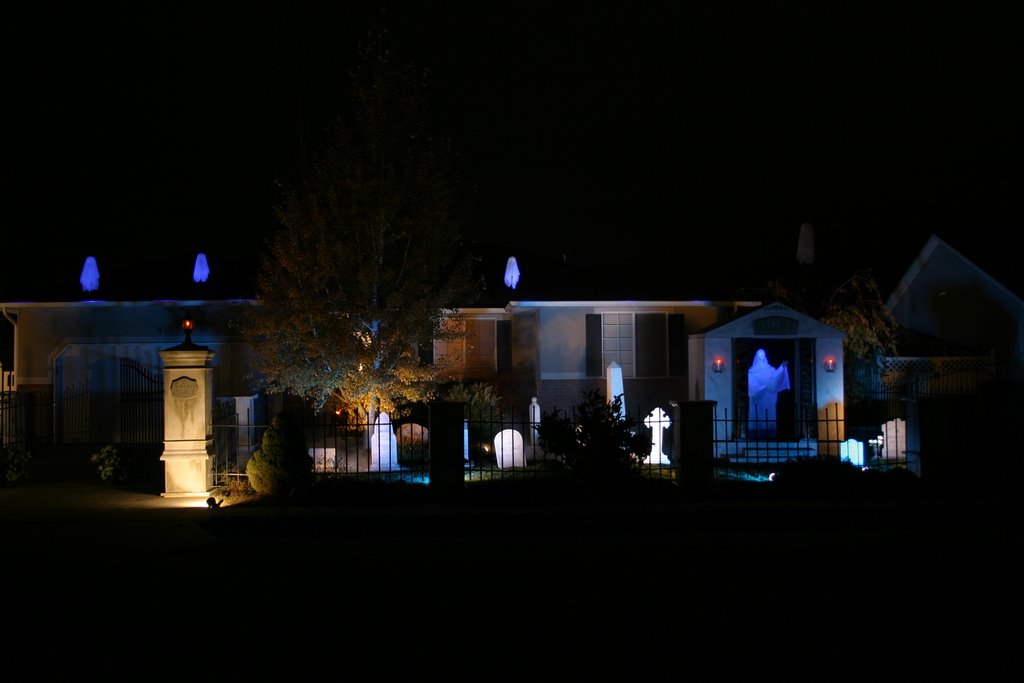
Below are some photos of the track layout and components. There is also additional info on my version of this project below, such as the type of motor I used. Click each thumbnail for a larger image.
|